Getting Started with Mountain Biking
Curious about mountain biking but unsure where to start? Here you’ll find a simple introduction to different types of mountain biking, trail grading, common terms and helpful tips before your first ride.
On this page:
- What is mountain biking?
- Find your type of biking
- Understand trail grading
- Learn common biking terms
- Equipment and protection
- Start at the right level
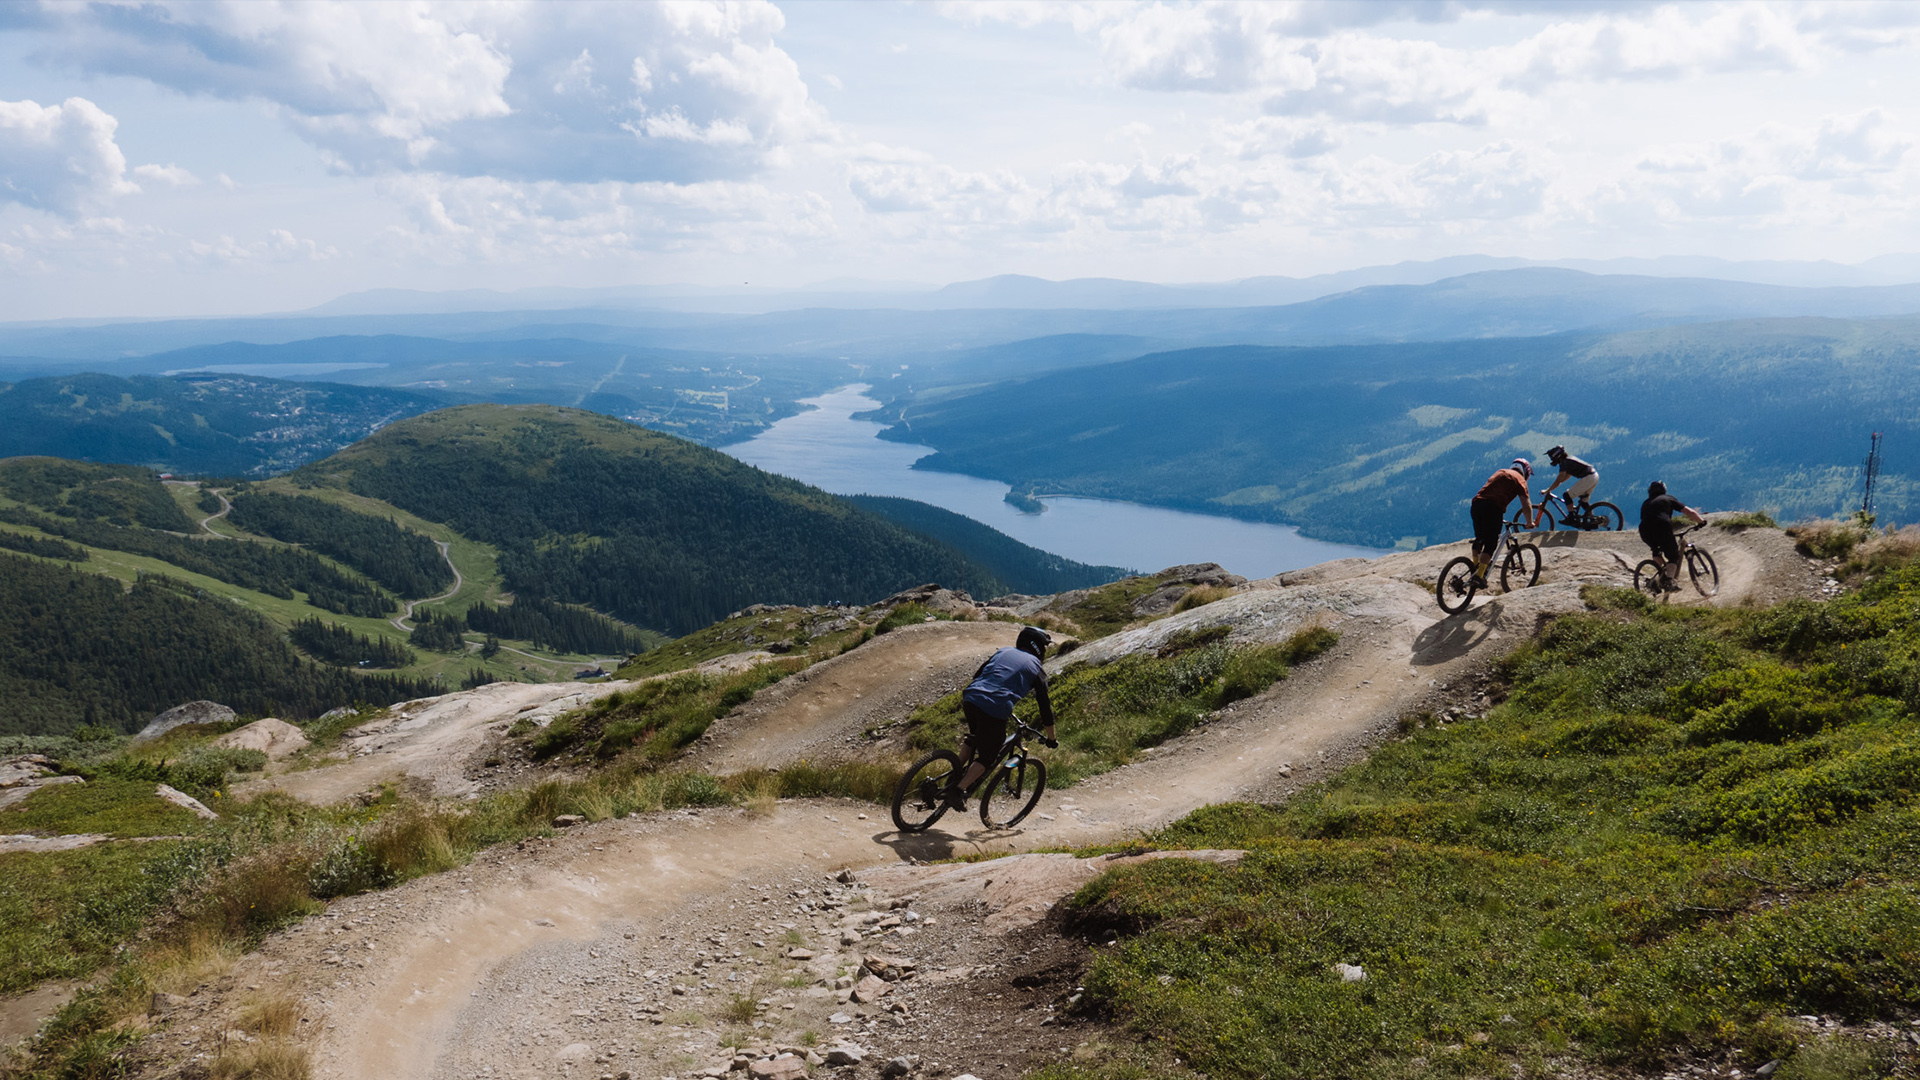
What is mountain biking?
Mountain biking is all about riding off paved roads – from calm gravel roads to winding forest trails, rocky sections and purpose built bike trails.
There are many forms of mountain biking, and you do not need to be an expert or thrill-seeker to get started.
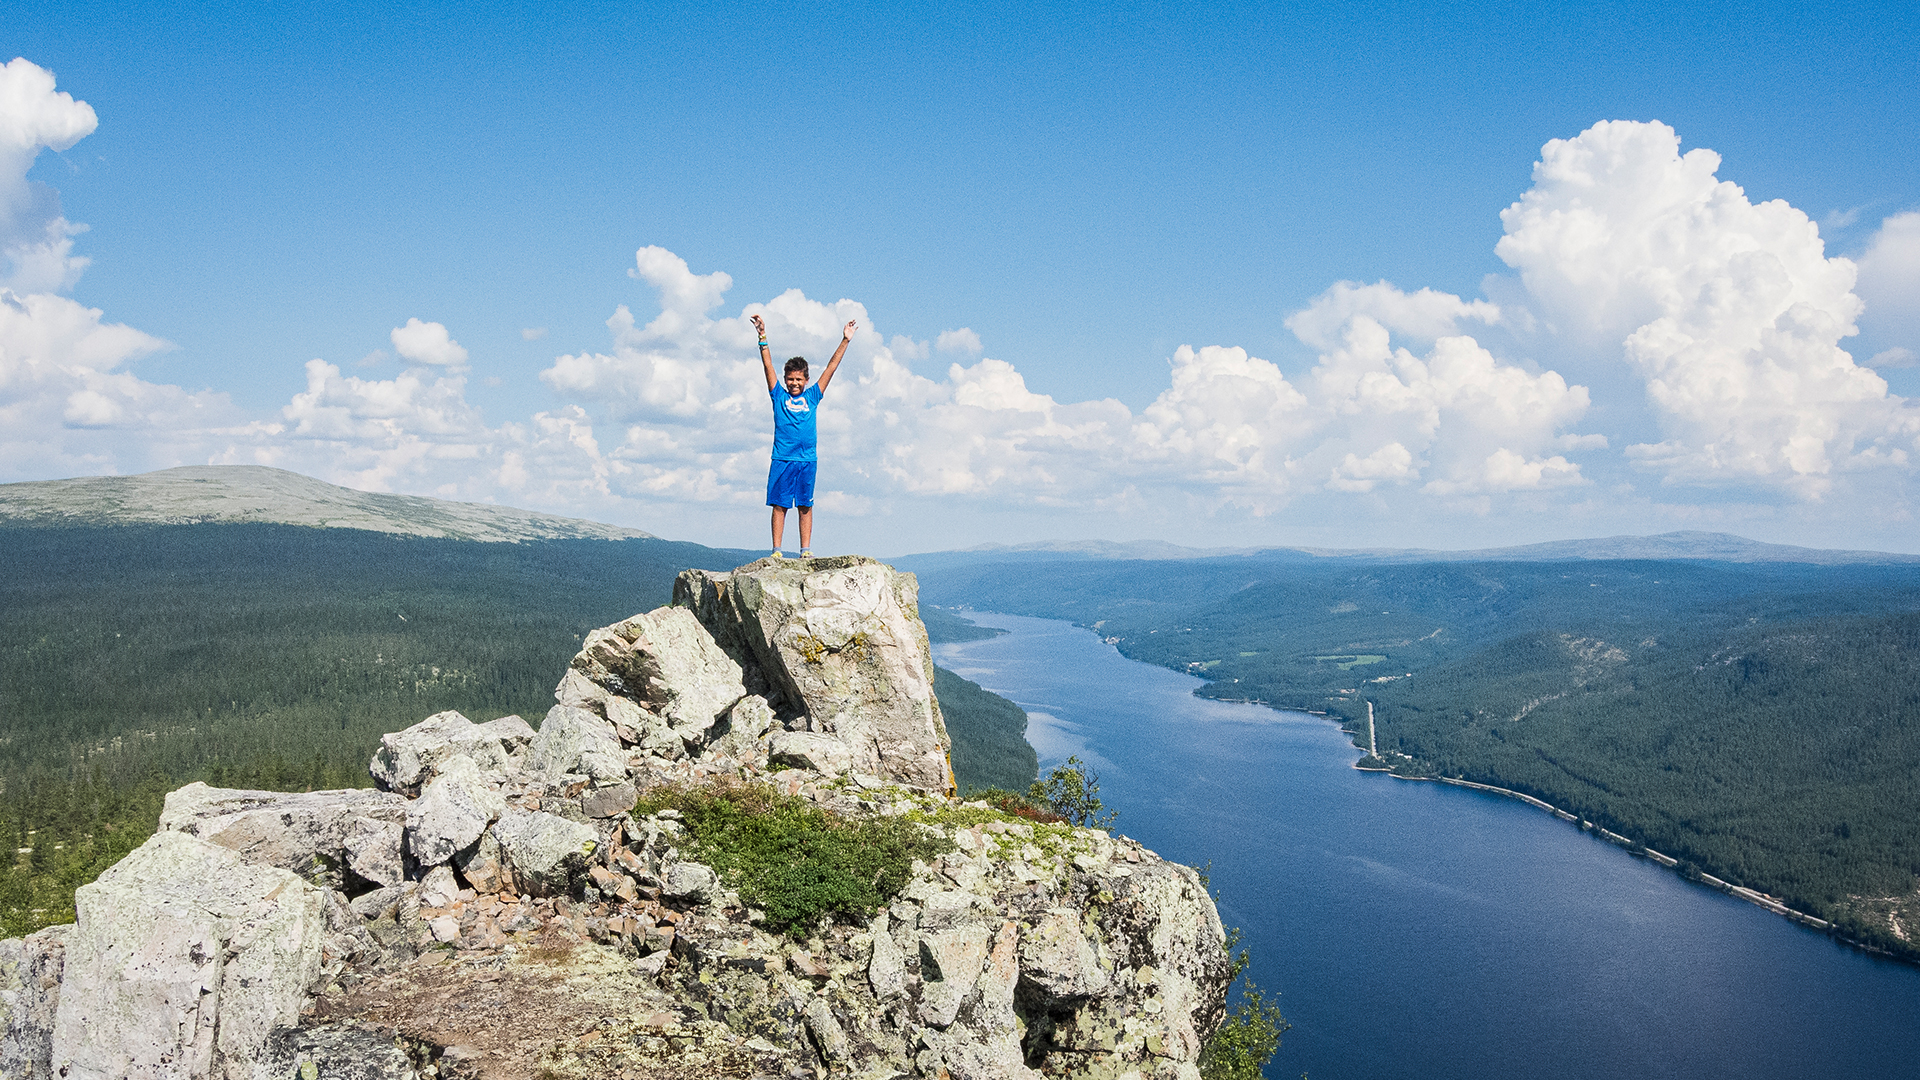
With the right starting point and gradual progression, beginners of all ages can discover just how fun riding off-road can be.
Different types of mountain biking
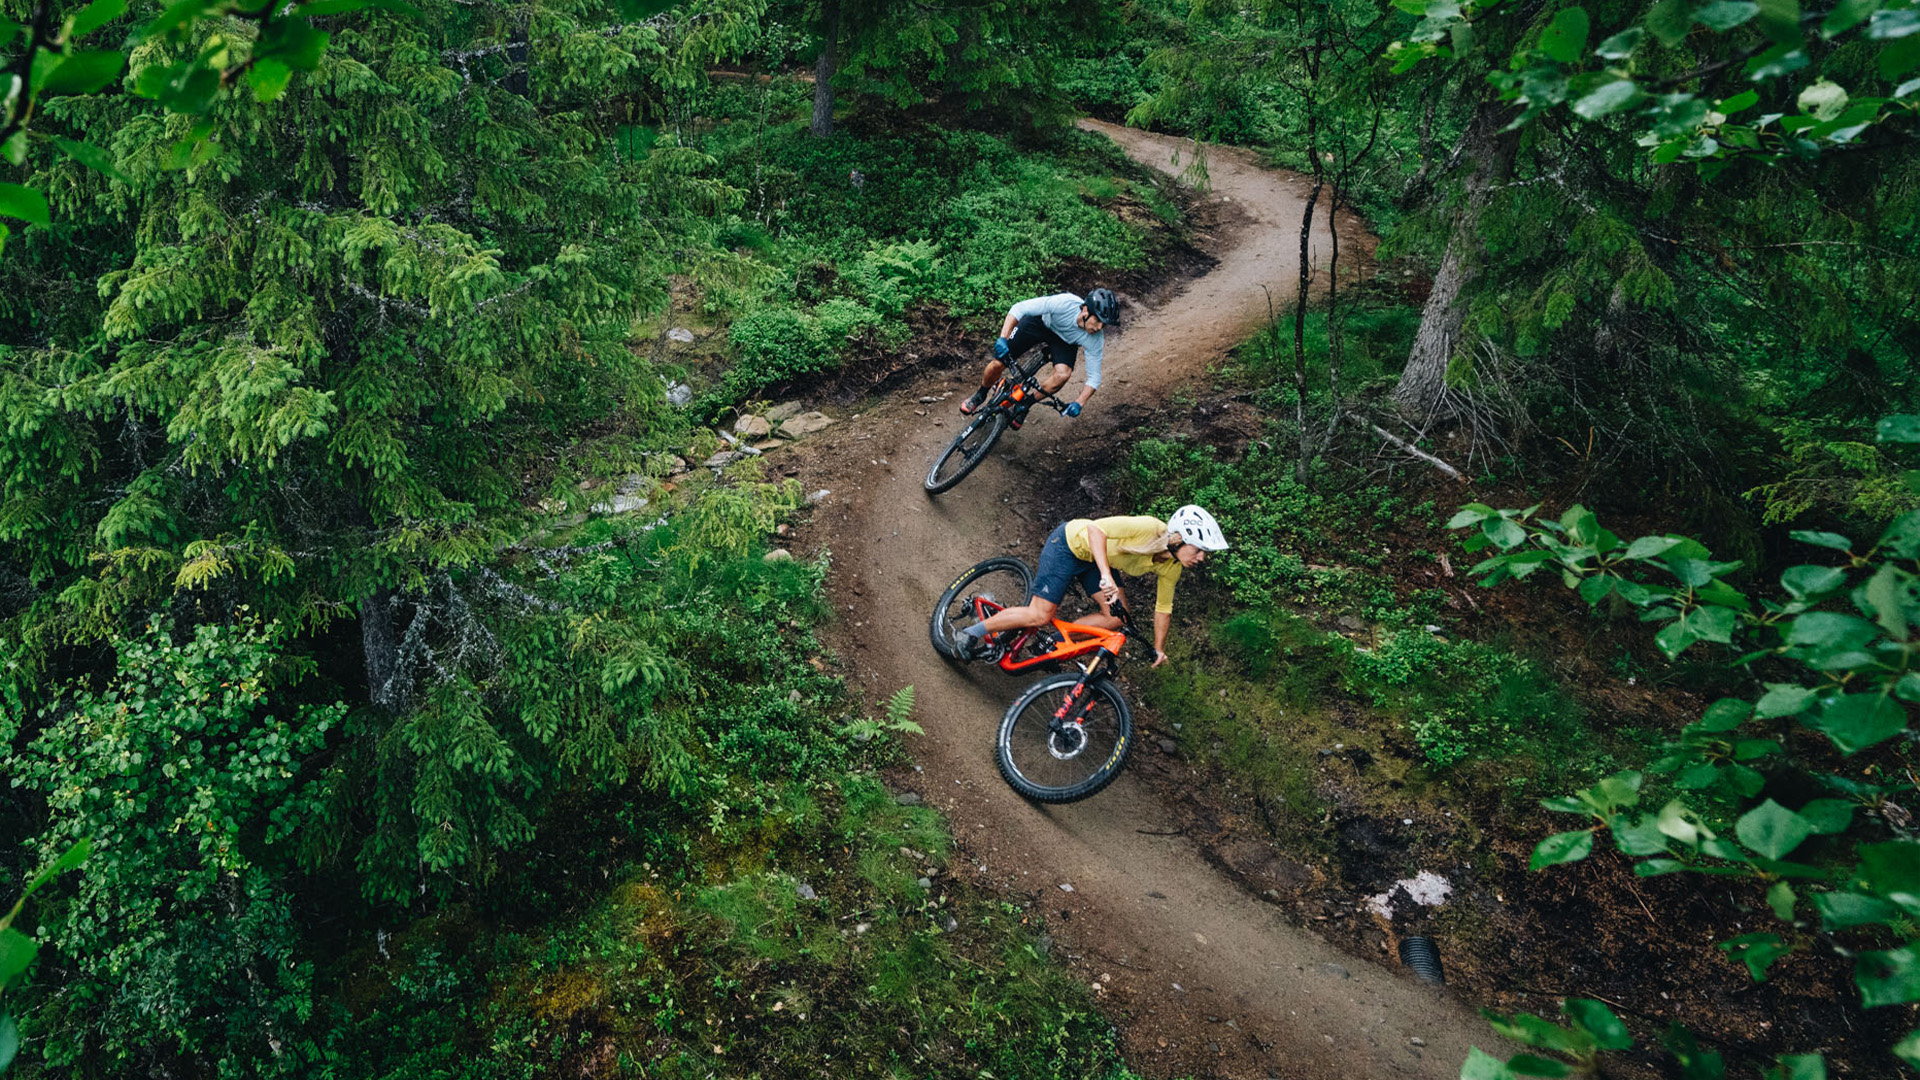
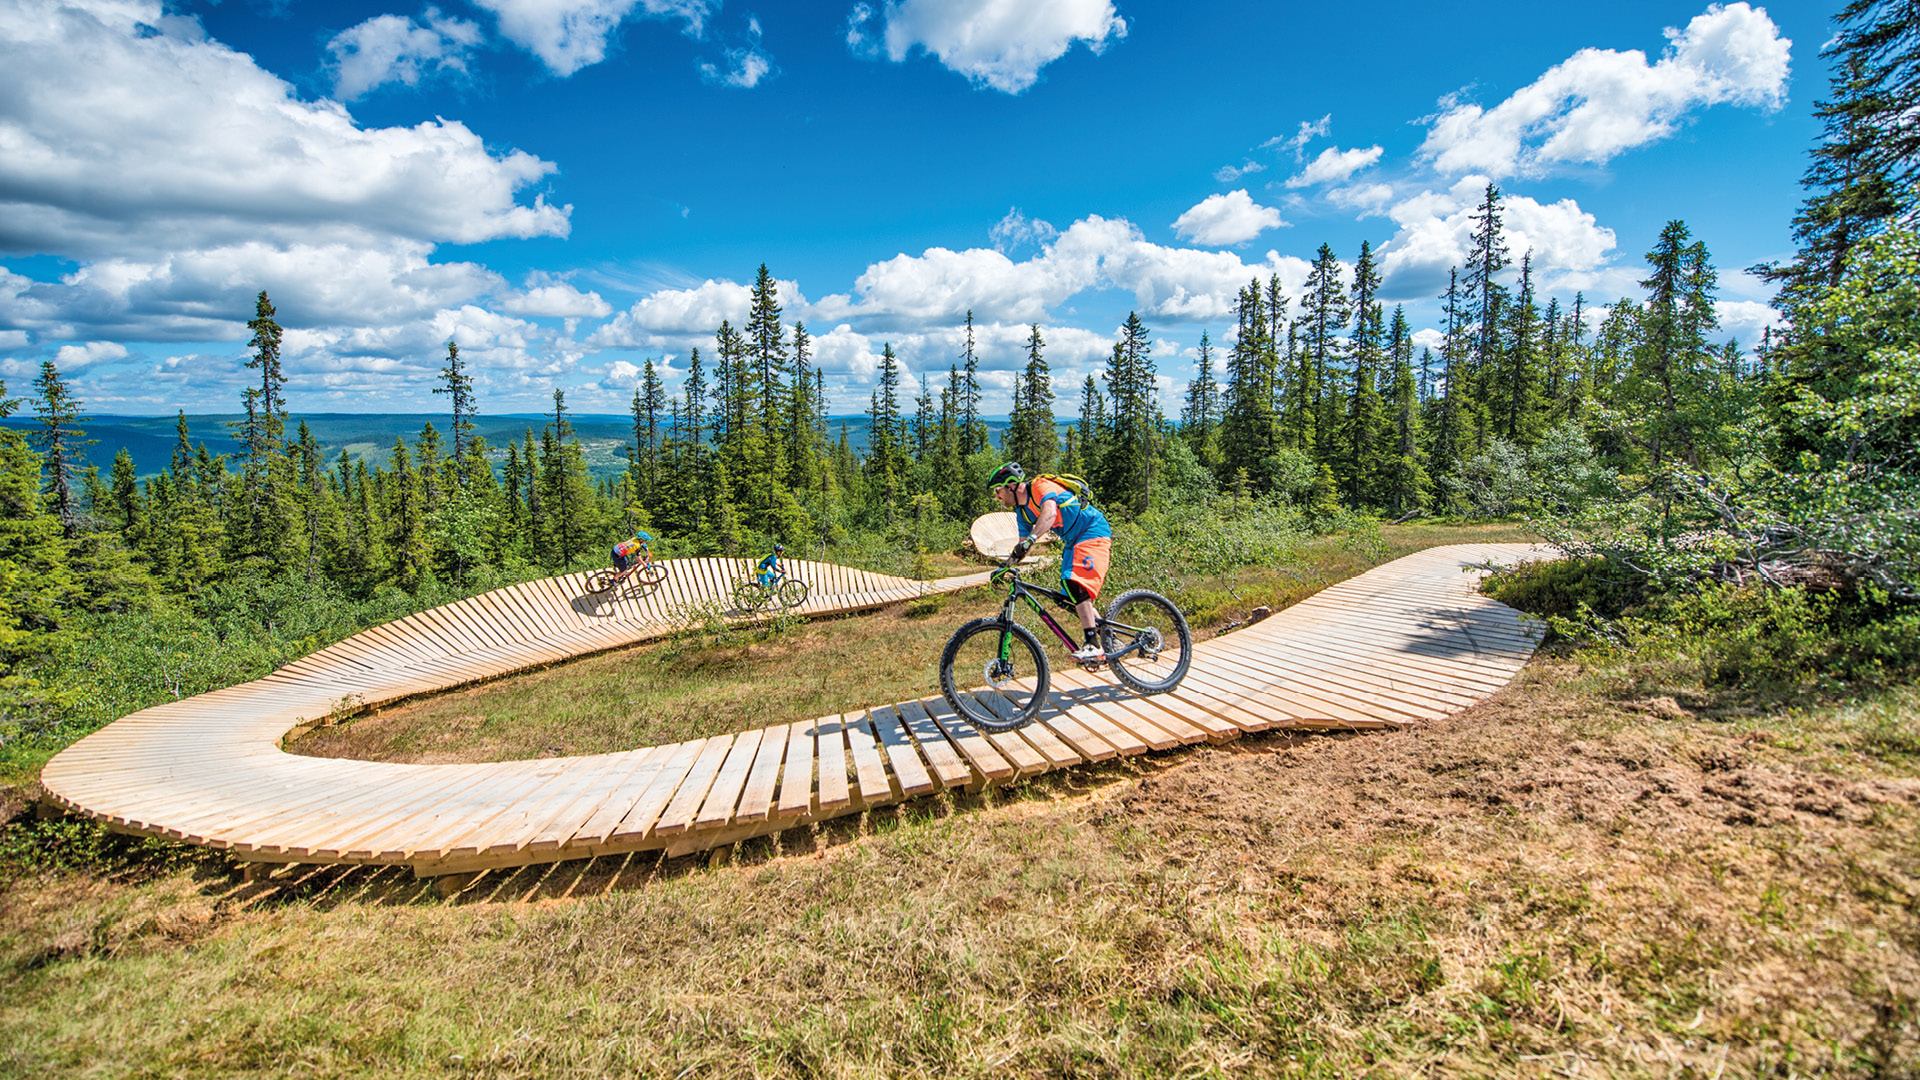
Trail Biking and Trail Park
Trail biking involves riding on natural or purpose-built trails through forests and mountains. It is often about flow, rhythm and enjoying nature as you work your way through turns, small obstacles and varied terrain at your own pace.
If you are new to mountain biking, trail biking is often the best place to start. At SkiStar destinations, Trail Park is the shared term used for areas designed for trail biking.
In a Trail Park, you usually ride back to the trail head using your strenght.
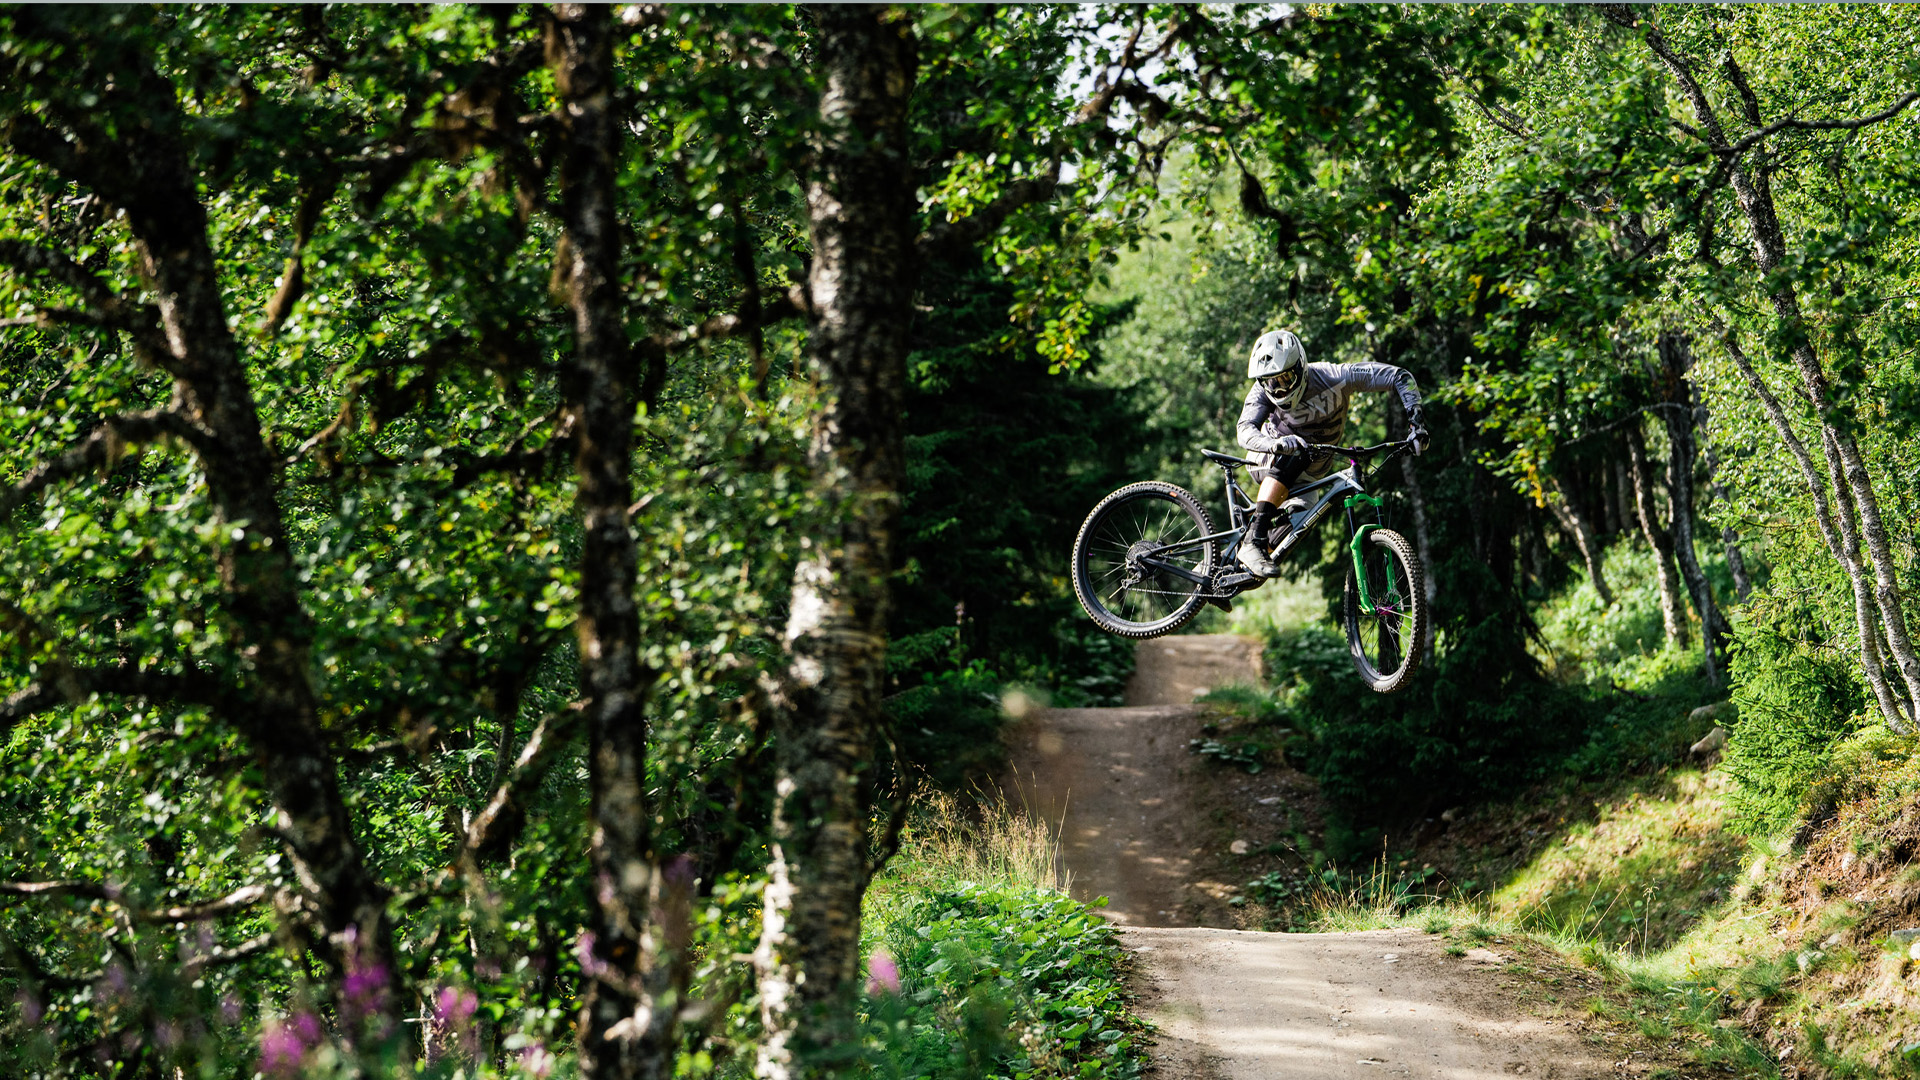
Lift Assisted Biking and Bike Park
Lift assisted biking means taking the lift up and riding down on purpose-built trails. This type of biking often includes more speed, bigger features and a more action-focused experience than traditional trail biking.
Lift assisted biking is ideal for riders looking for speed, excitement and long descents, but it is recommended that you first feel comfortable on blue trails in a Trail Park and have basic riding technique in place.
At SkiStar destinations, Bike Park is the term used for areas offering lift assisted biking.
SLAO’s Lilla Gröna – Important information about lift assisted biking
Before you head out on the biking trails, it is important that you know the biker’s rules.
The rules are there to help bikers ride safely, show consideration and reduce the risk of accidents.
- Good technique reduces the risk of injury – use a guide or instructor.
- The biking school may have priority in certain lifts.
- A well-maintained bike makes biking safer, easier and more fun.
- A helmet is compulsory when biking.
- Deter thieves by locking your bike, even out on the trails.
- Be aware of the risk of dropping your bike and other equipment when using chairlifts.
- Fatigue increases the risk of accidents, so build up your fitness and strength before the season.
- Show extra consideration for children, who often make quick and unexpected movements.
- The bike patrol and trail staff work for your safety and wellbeing.
- If you lose each other in the lift area, contact the staff, who will be happy to help you.
The difficulty grading of biking trails is set by the facility and indicates the level of skill a biker should have to ride a specific biking trail safely and confidently. For example, some trails may be machine-built while others are natural trails.
Biking trails are for biking only; hikers should use hiking trails. Trails marked with downhill symbols are open for biking.
- Green – Easy biking trail
- Blue – Intermediate biking trail
- Red – Advanced biking trail
- Black – Expert trail for biking
- Purple – PRO trail or extreme trail for biking
The grading of biking trails in SkiStar Bike Park applies to lift assisted biking and is not comparable to trail riding.
On the trail descriptions page, you can read more about what green, blue, red, black and purple biking trails mean.
Read more about trail descriptions for lift assisted biking
Flow trail
Flow trails are built with a smoother and usually wider surface and have a high proportion of berms, jumps and rollers. Speeds are higher than on natural singletrack trails.
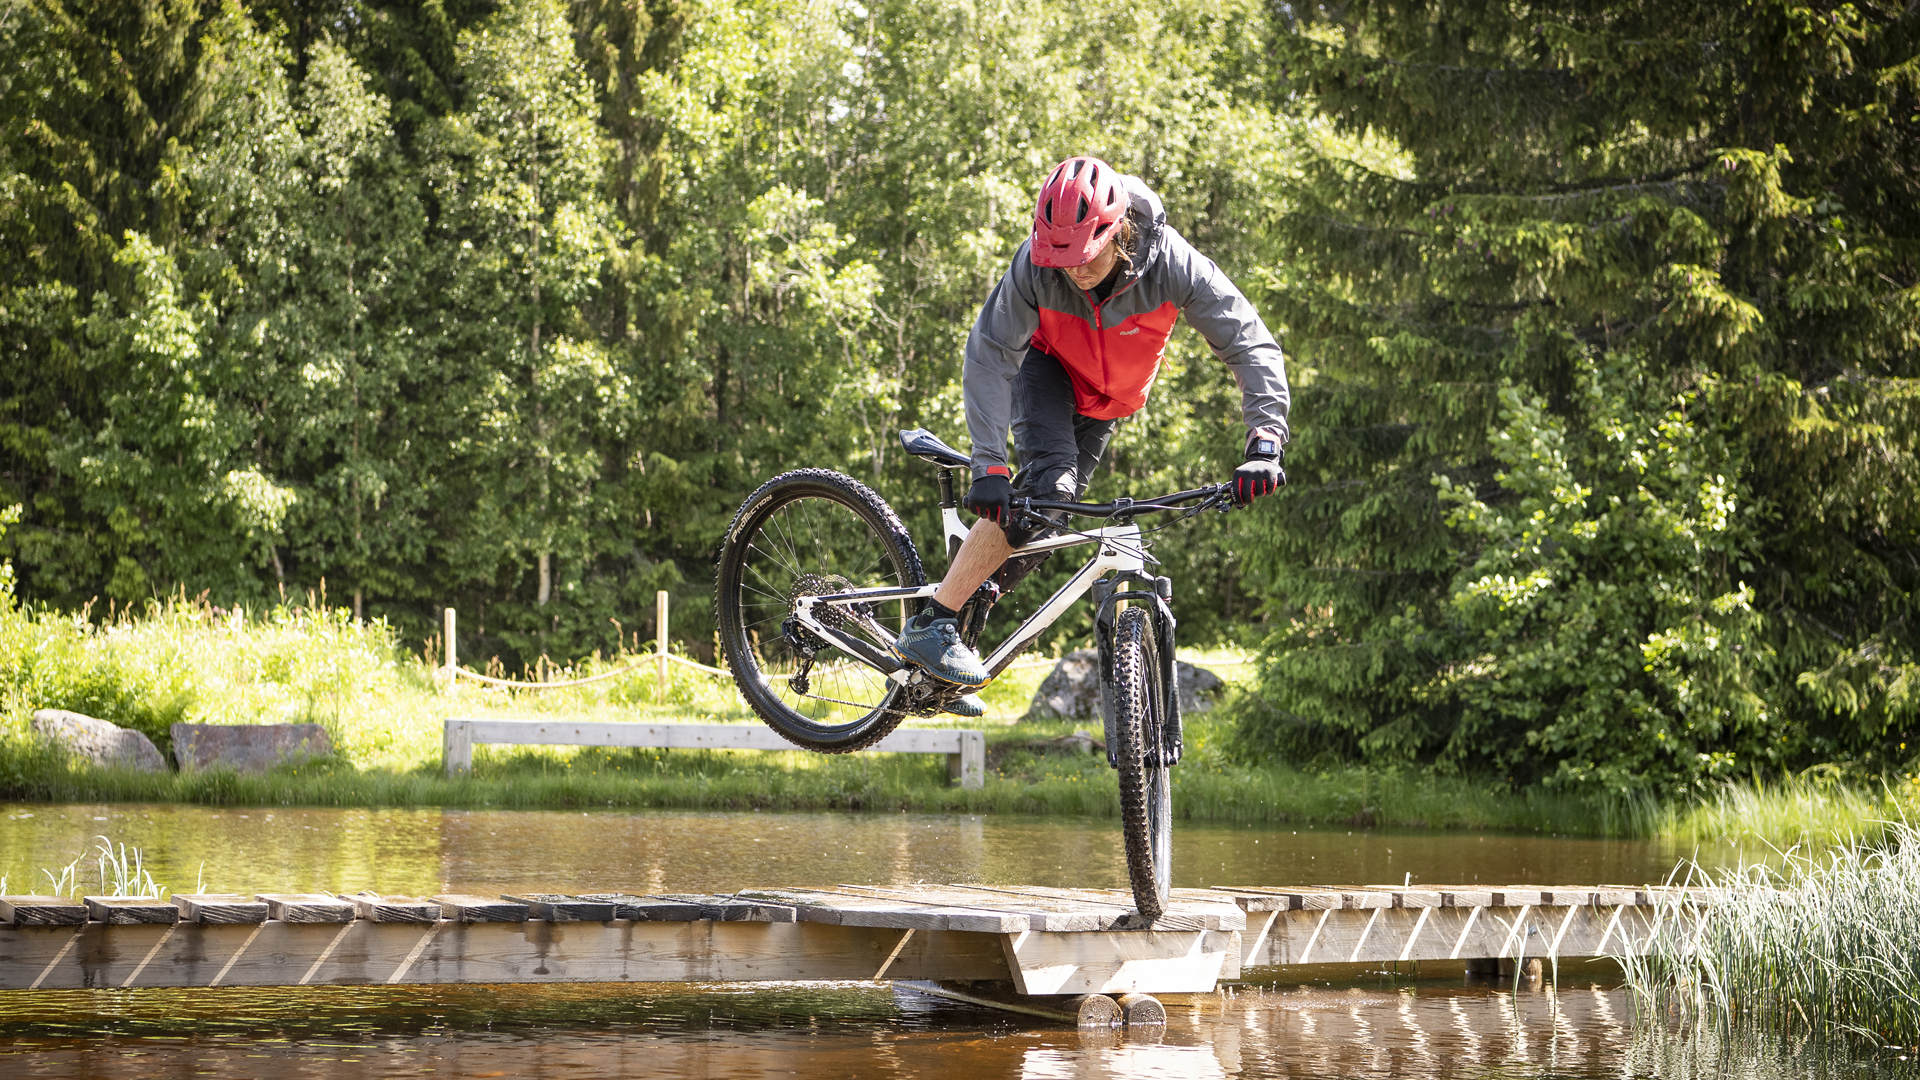
Technical trail
Technical trails have rougher and more natural surfaces with a high proportion of natural or organic elements; rocks, roots, drop-offs and steeper slopes. Speeds are generally lower than on flow trails.
Mixed trail
Mixed trails contain a combination of both singletrack and jumps. Sections with berms are combined with more technical biking to create varied biking trails.
Plus trail
Plus trails have a high frequency of advanced features, such as jumps, drops or gaps. These require or actively encourage the biker’s wheels to leave the ground. Without good jumping ability, these trails will involve a consistently higher level of risk. The trails are colour-graded as usual to indicate the level of challenge posed by the jump and drop features. The colour of the plus symbol relates to the gradient of the trail. Only bike on trails with a suitable difficulty level for your ability. Standard-graded trails may contain some of these features, but not with the same frequency, scale or focus as a plus-graded trail with '+'.
Look out for the + symbol on trail maps and name signs to help you decide whether the trail is suitable for you.
- Always follow the facility’s instructions for how to use the lift.
- Do not wear loose-hanging scarves, cords, straps or similar items that could get caught in the lift or equipment.
- Boarding and disembarking may only take place at designated areas.
- Leave the disembarking area immediately.
- It is not permitted to stay in the area between the disembarking point and the return wheel.
- Persons under 125 cm may not ride a chairlift unless accompanied by a person over 140 cm.
- Do not swing the chairlift seat.
- Never jump from the chairlift seat.
- Do not litter in the lift or on the biking trails.
- Damaged or lost equipment is generally not compensated.
- The lift pass may not be used by anyone else without the facility’s approval.
- When checked, the biker must be able to show the lift pass and prove that they are the correct holder.
- Lift-accessed biking means all biking that takes place within the facility’s biking trails.
- Lift-accessed biking is a sport that may involve risks for the participant.
- Carelessness when lift-accessed biking may result in liability for damages.
- An upside-down bike on the biking trail indicates an accident.
- The facility is only responsible in accordance with the safety regulations during and in connection with the lifts’ normal opening hours.
- The facility’s biking trails may not be accessed outside opening hours without permission from the facility.
- The facility’s terrain vehicles and other vehicles may be present on the biking trails, even during opening hours.
- Weather conditions and trail surfaces can deteriorate so quickly that risks increase, even on marked biking trails.
- Lift-accessed biking outside marked biking trails is prohibited.
- For safety reasons, lift-accessed biking should be practised together with others.
- Lift-accessed biking is not permitted on closed trails.
- Easy trails are considered low-speed trails.
- Trails, tracks and jumps may not be built or constructed without permission from the facility’s responsible staff.
- Competitions and competition-style training may not be carried out without permission from responsible staff.
- Competitions and competition-style training must take place separately from general biking.
- Notify staff if you discover any obstacle, danger or accident in the lift or on the trails.
- Removing nets and protective padding may result in a police report.
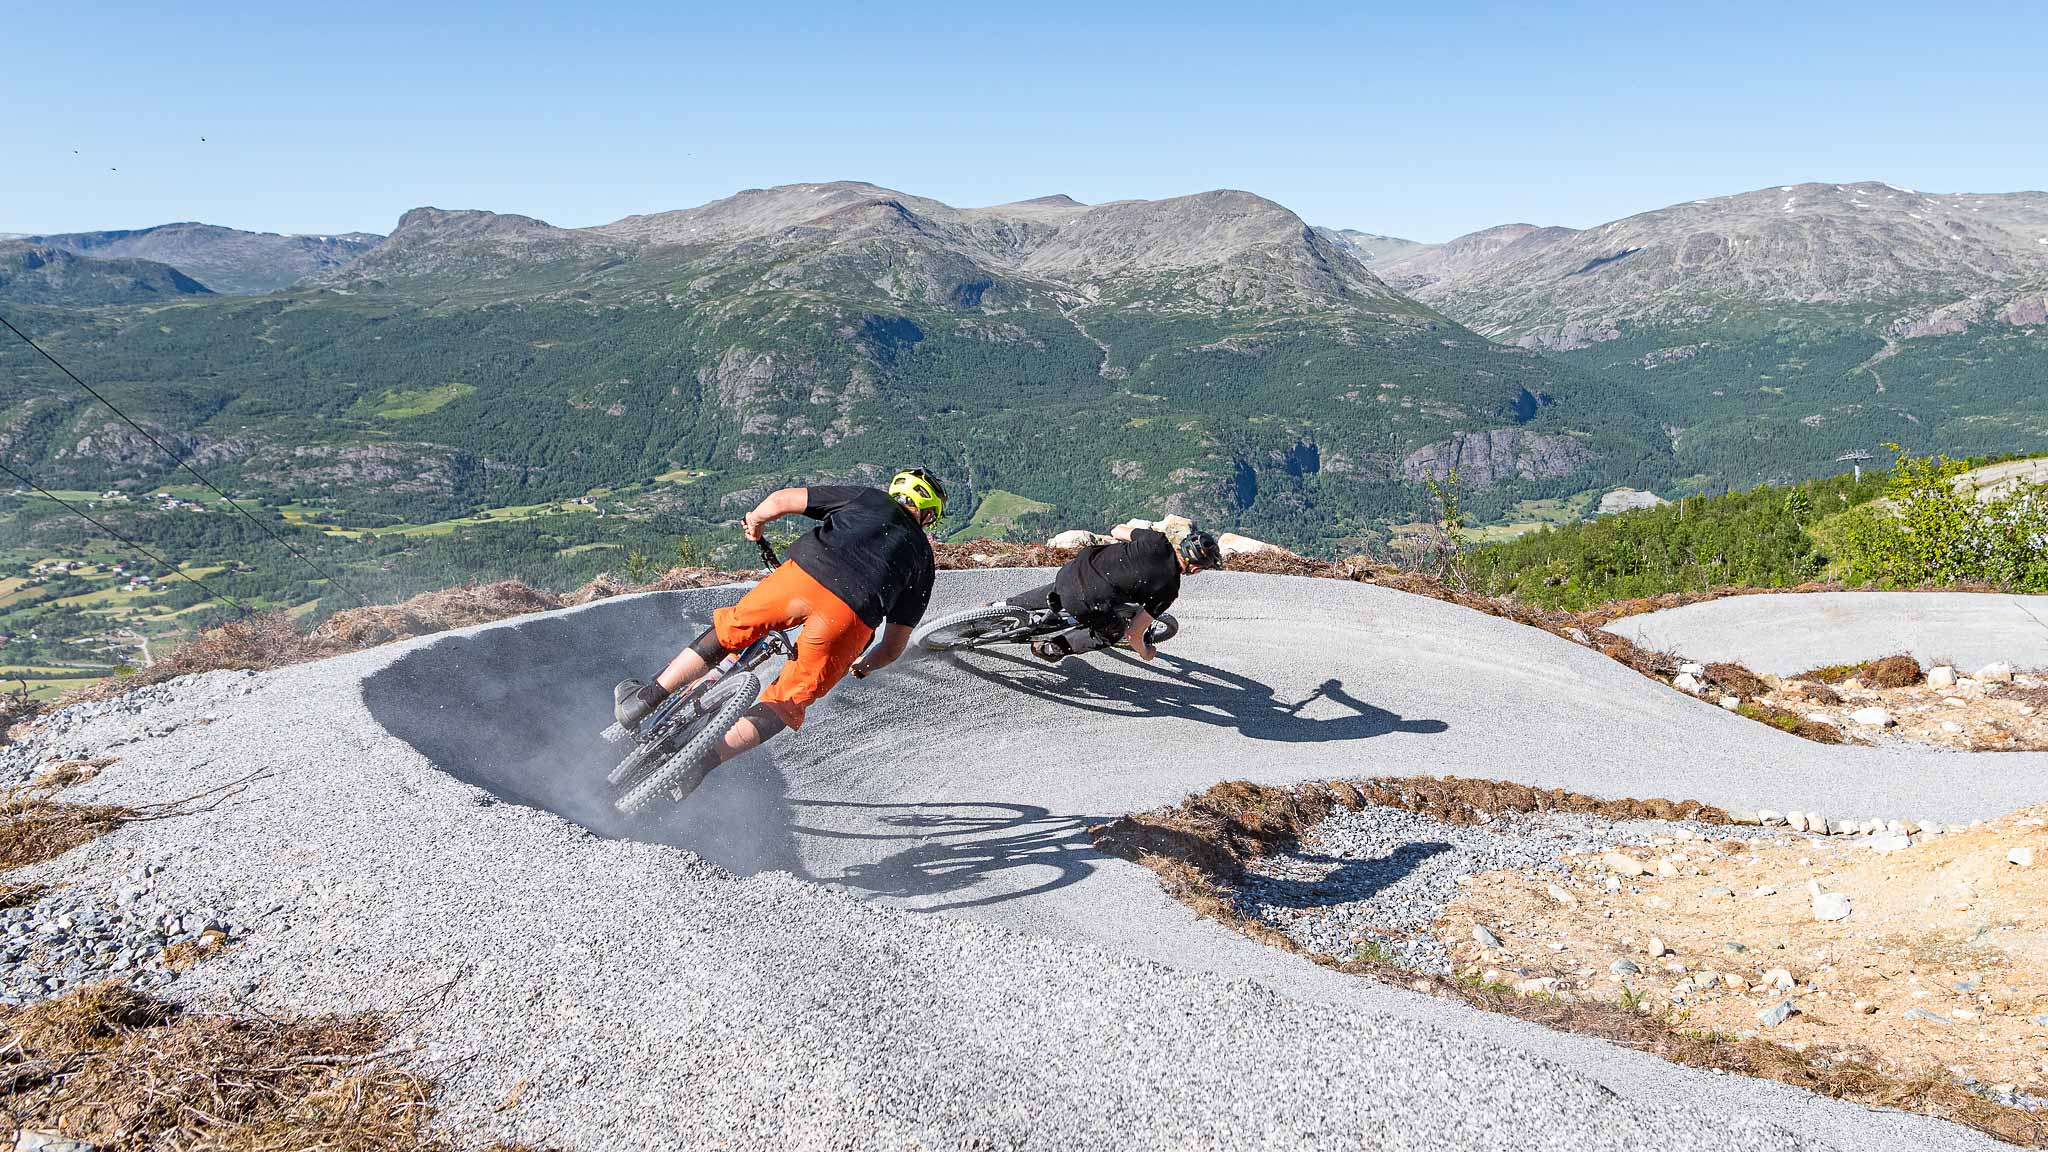
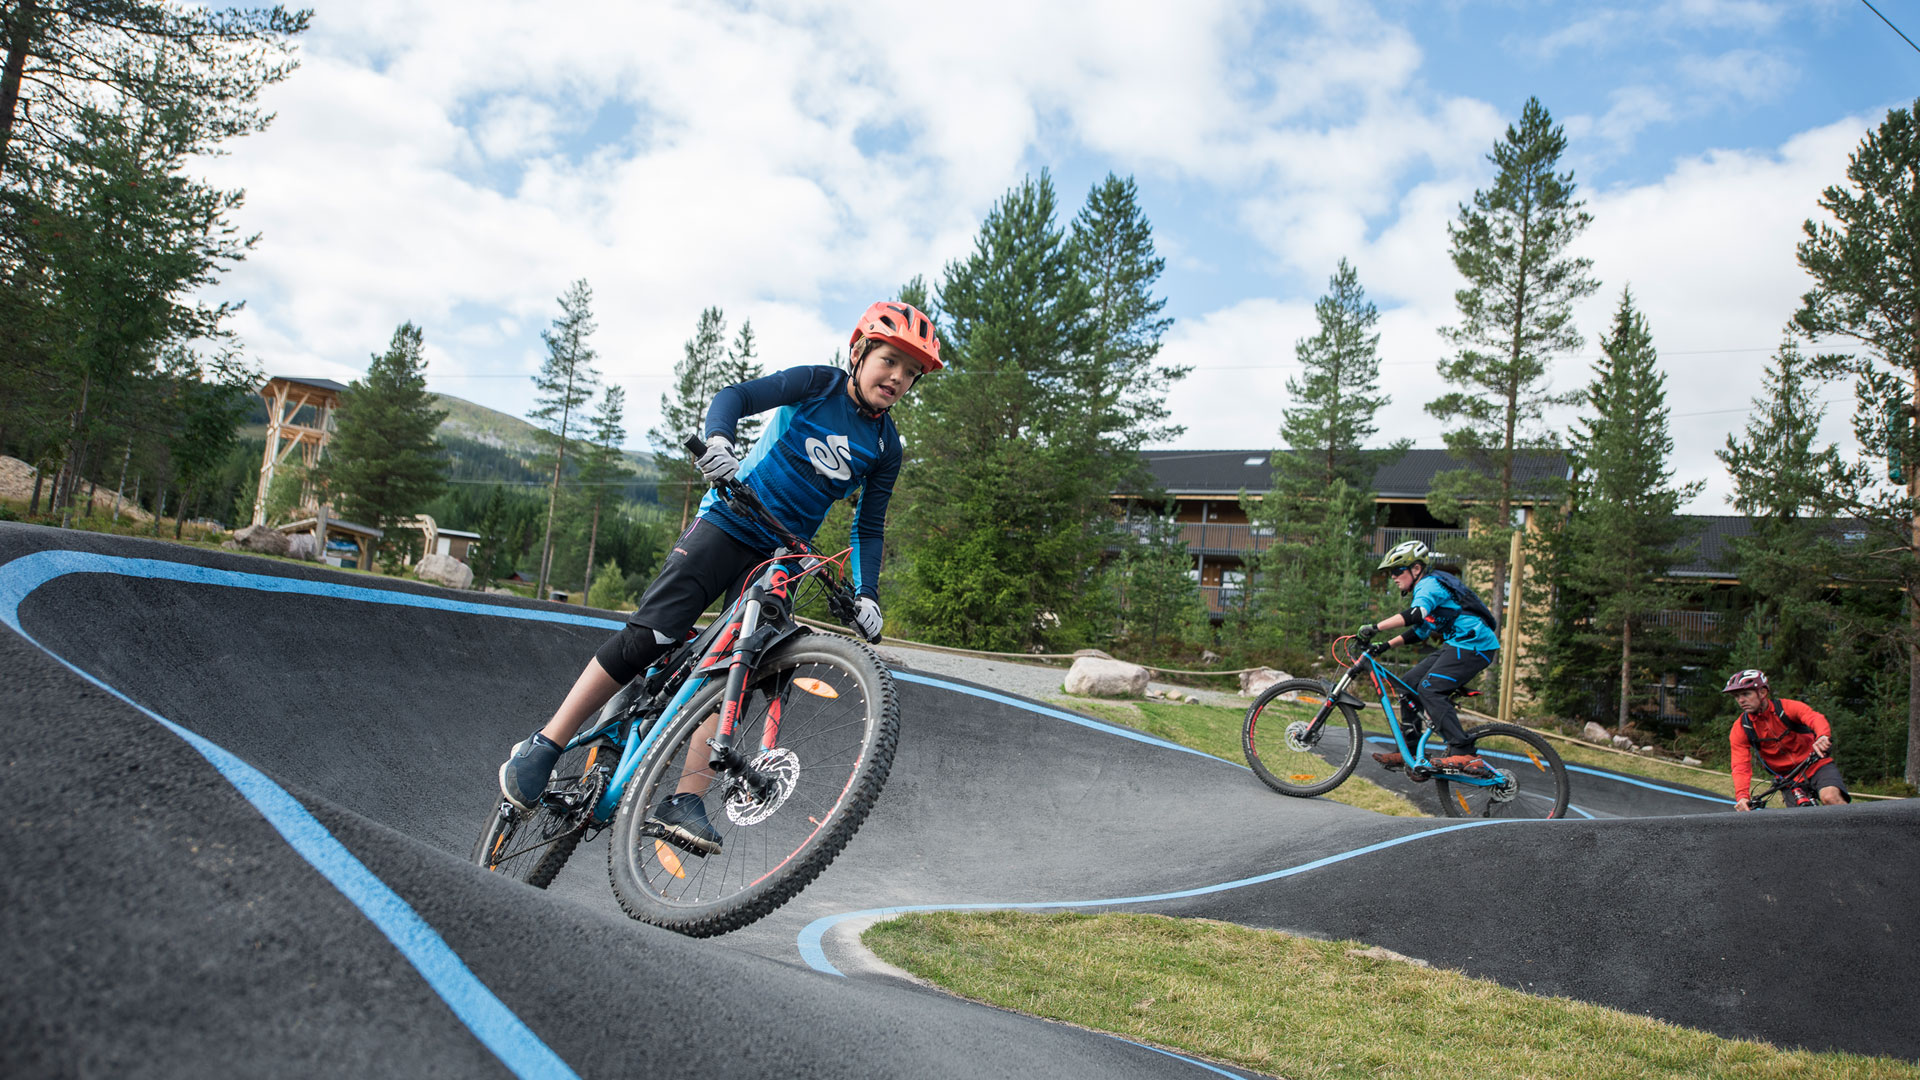
Skills Park
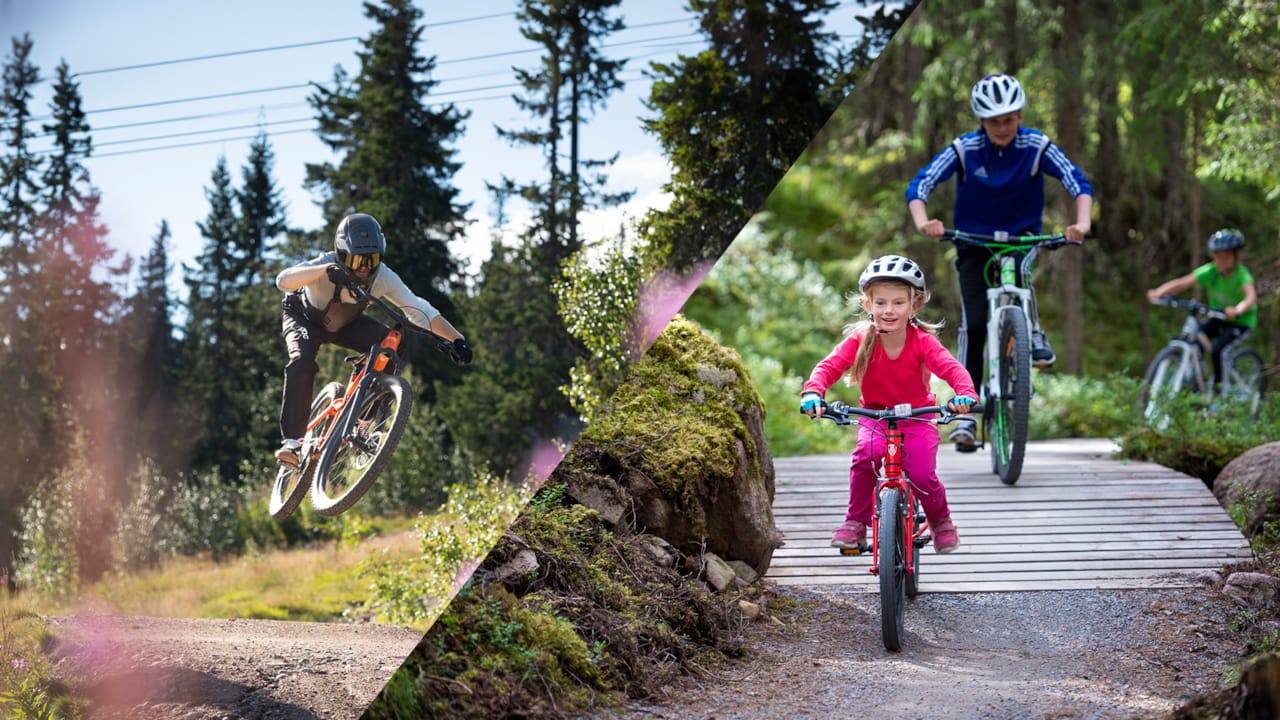
SkiStar Skills Park are areas where you can practise technique, balance and control in a safe environment. Here you will often find pump tracks, small practice jumps, berms and technical features designed for learning and progression.
Skills Parks are ideal for children, beginners and experienced riders alike who want to improve their skills.
Gravity Biking
Gravity biking is a collective term for mountain biking focused more on descending than climbing, such as freeride, downhill and lift assisted biking.
Understand Trail Grading
Just like ski slopes, bike trails follow a grading system. This makes progression easier and choosing the right trail safer.
Green Trail
Green trails are the easiest trails and are designed to provide a safe and fun introduction to mountain biking. These are often found in Trail Parks or children’s areas.
Blue Trail
Blue trails suit riders with basic experience and often feature moderate speed, easier turns and fewer technical challenges.
Please note that a blue trail in a Trail Park often feels easier than a blue trail in a Bike Park. It is therefore recommended that you feel confident on blue Trail Park trails before trying lift assisted biking.
Red Trail
Red trails are more demanding and often include higher speeds, larger features and more technical sections. These suit riders looking for more of a challenge who already have good bike control.
Black Trail
Black trails are highly demanding and suited to experienced riders with strong technique, control and experience in challenging terrain.
Common Mountain Biking Terms
If you are new to mountain biking, you will quickly come across plenty of new words and expressions. Here are some of the most common terms you will encounter on the trails.
SkiStar’s bike trails are graded by difficulty to help you choose a bike trail that suits your ability level.
Green bike trails are the easiest and are suitable for beginners and children.
Blue bike trails are suitable for riders with basic experience and offer slightly greater challenges.
Red bike trails are more technically demanding and are suitable for experienced riders.
Black bike trails are the most challenging and are recommended for highly experienced riders with good technique and control.
Please note that difficulty may vary depending on the type of cycling. For example, a blue bike trail in trail riding may be easier than a blue bike trail in lift assisted mountain biking.
A flow trail is a trail with few technical elements, designed for higher speeds, berms and a smoother riding experience.
A technical trail is a trail with roots, rocks and other challenges that require more balance, control and technique.
A berm is a built-up corner that makes it easier to maintain flow and control through the turn.
A drop is a section where you ride off an edge and land lower down.
A chicken line is an easier line that allows you to avoid a more difficult feature.
A bike stop is a place where you can stop safely and let other riders pass.
A jump line is a trail or section built for multiple jumps in sequence with good flow.
A wallride is a built feature where you ride diagonally up a wall or wall-shaped surface through a turn.
A Trail Hub is a natural meeting point between several trails.
What Equipment Do You Need?
You do not need the most expensive equipment to get started, but the right bike and protective gear will make the experience safer and more enjoyable. For beginners, hiring a bike and protective gear is often the easiest way to get modern and suitable equipment.
Common Bike Types
- Mountain Bike: A general term for bikes built for riding off-road.
- E-bike: A bike with an electric motor that provides extra support on climbs and longer rides.
- Trail Bike: A versatile mountain bike designed for trail riding and varied terrain. These are often used in Trail Parks, and when hiring you can look for bikes suited to Trail Park riding.
- Downhill Bike: A heavy-duty bike built for steep and demanding descents. These are ideal for Bike Park riding, and when hiring you can look for bikes suited to Bike Park use.
- Hardtail: A bike with front suspension only, often lightweight and efficient for easier trail riding.
- Full Suspension: A bike with suspension front and rear, offering greater comfort and control in rough terrain.
If you do not have your own bike or are unsure what to use, you can easily hire a bike and protective gear at our destinations.
Protection
A helmet is always essential when biking, and for more demanding riding we also recommend gloves, knee pads and other protective equipment.
When riding lift assisted trails in a Bike Park, full-face helmets and back protection are more common and more important than in regular trail biking, as speed and impact levels are often higher.
Five Tips for Mountain Biking in the Mountains
- Do not be afraid to take it slow
Everyone starts somewhere, and it is better to take things slowly and practise your technique in a Skills Park before tackling the toughest trails. - Relax
It is difficult to ride well if you are stiff and tense. Relax, bend your arms and legs, and let your body move naturally with the terrain. - Stay Mobile
Move actively while riding – on climbs you should place more weight over the front wheel, while on descents you should adjust your body position over the bike for better balance and control. - Look Ahead
If you stare at the obstacle you want to avoid, chances are you will hit it. Instead, look beyond obstacles and focus on the line you want to ride. - Brake Smoothly
Mountain bike brakes are powerful, and often one or two fingers are enough to control your speed. Practise braking smoothly and with control rather than grabbing the brakes suddenly.
Where Should You Start?
Find the Right Level from the Beginning
If you are unsure where to begin, it is usually recommended to start with a Trail Park, Skills Park or easier trail biking. Here you can build fundamental technique, confidence and understanding of how the bike behaves on different terrain.
Once you feel comfortable on blue trails, cornering, braking and maintaining basic control, you can gradually explore more demanding terrain and lift assisted biking.
Get Help Getting Started
Our destinations also offer basic bike lessons, perfect for families, groups of friends and anyone wanting a safe introduction to the sport.
The most important thing is to start at the right level, build experience step by step and enjoy the process. Once the confidence and sense of achievement kick in, it is easy to understand why so many people fall in love with mountain biking.
Choose Where You Want to Ride
-
A summer holiday in the mountains – easier than you think
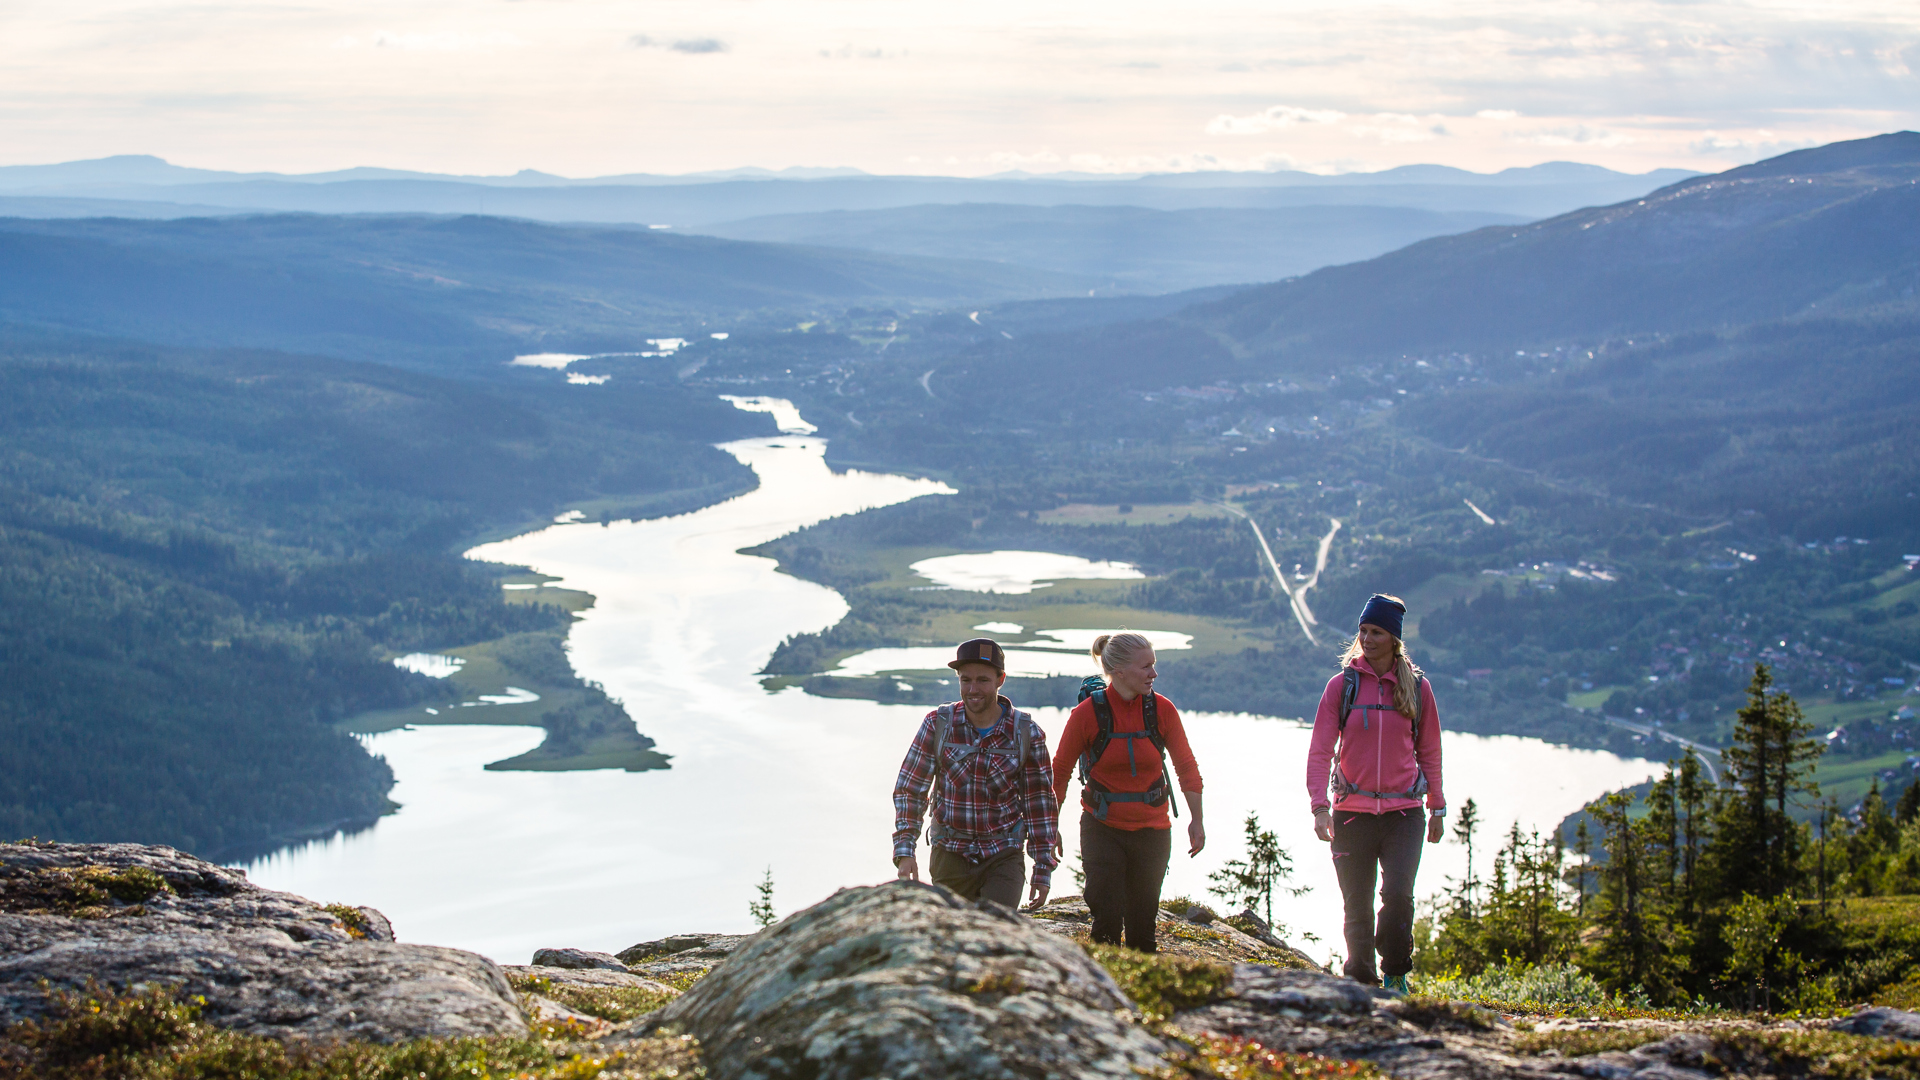
The mountains in summer are just as beautiful as in winter. Valleys are in bloom, mountain peaks bask in sunlight and alpine lakes are crystal clear. Here, you can explore the mountains at a comfortable pace and shape your experience entirely your own way. A summer holiday in the mountains is both more relaxing and easier than you might think.
A summer holiday in the mountains – easier than you think![]()
-
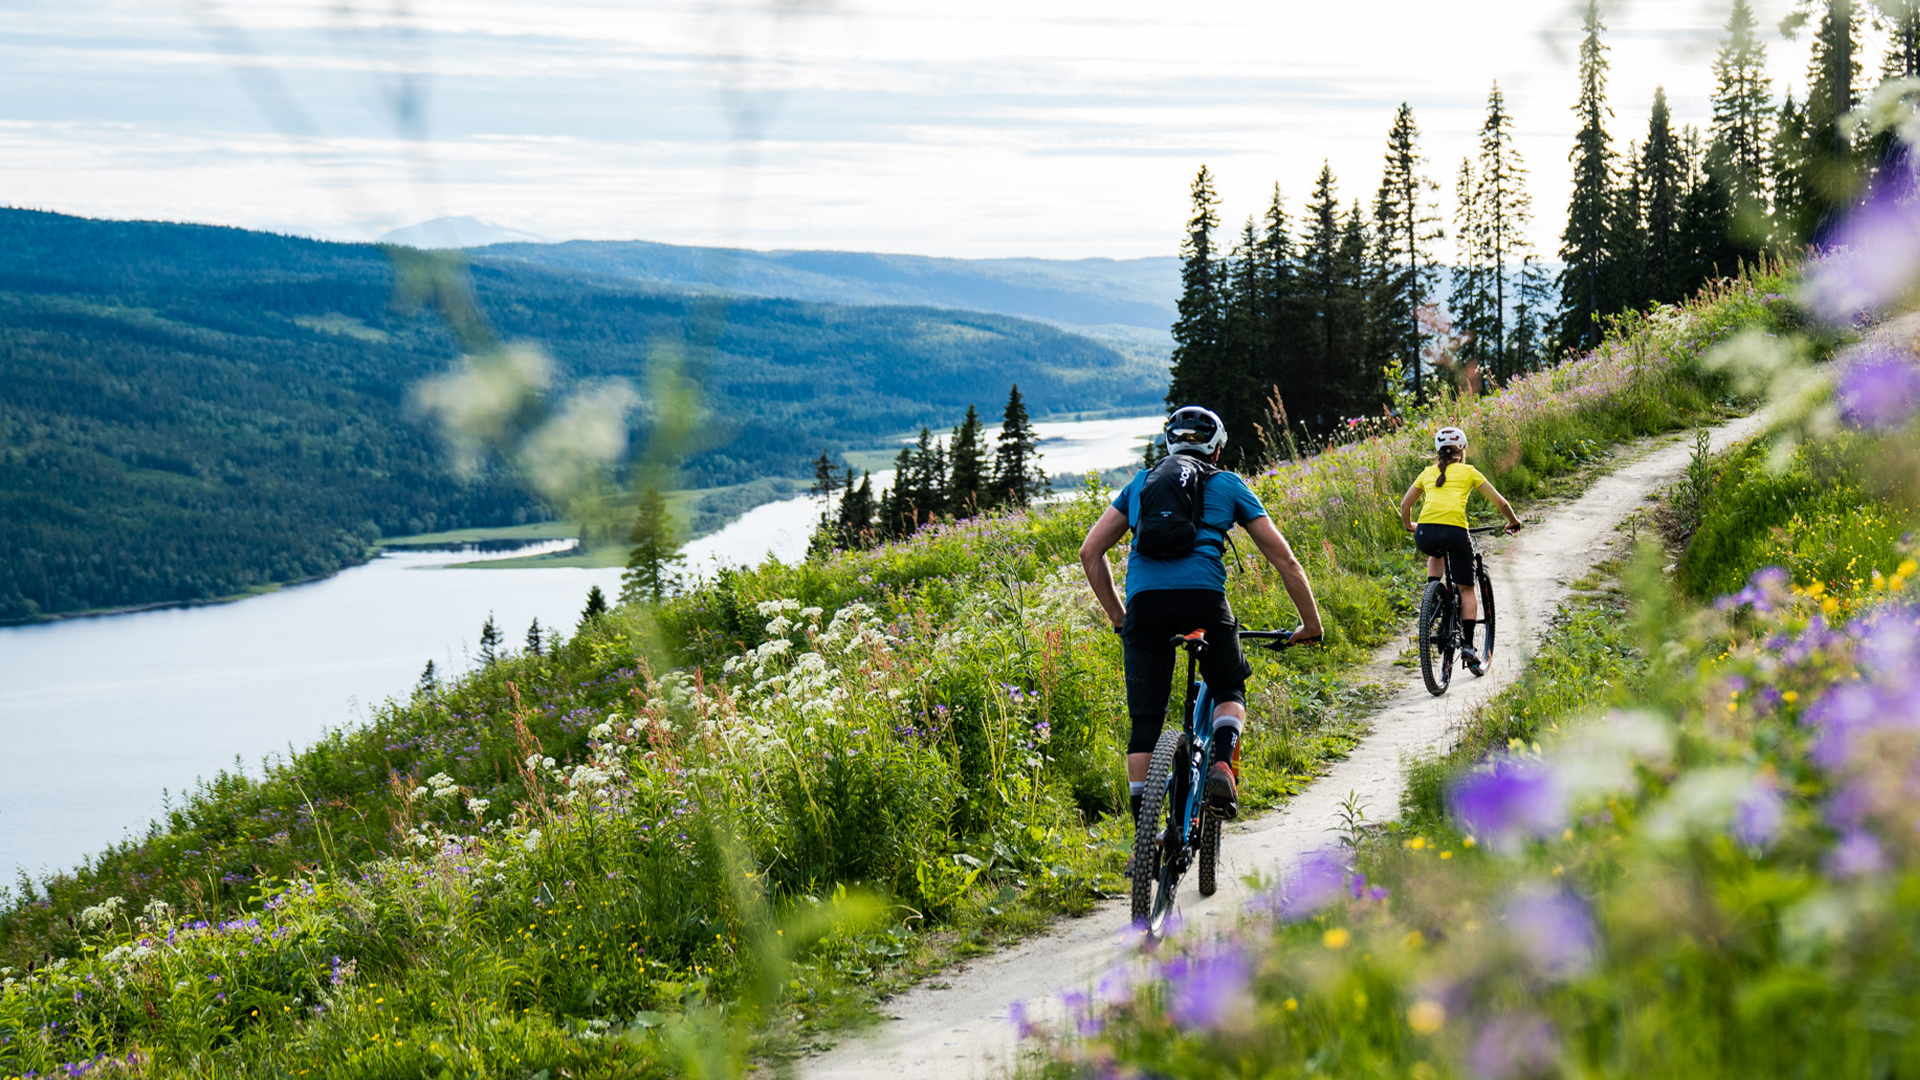
7 myths about the mountains in summer – and what it’s really like
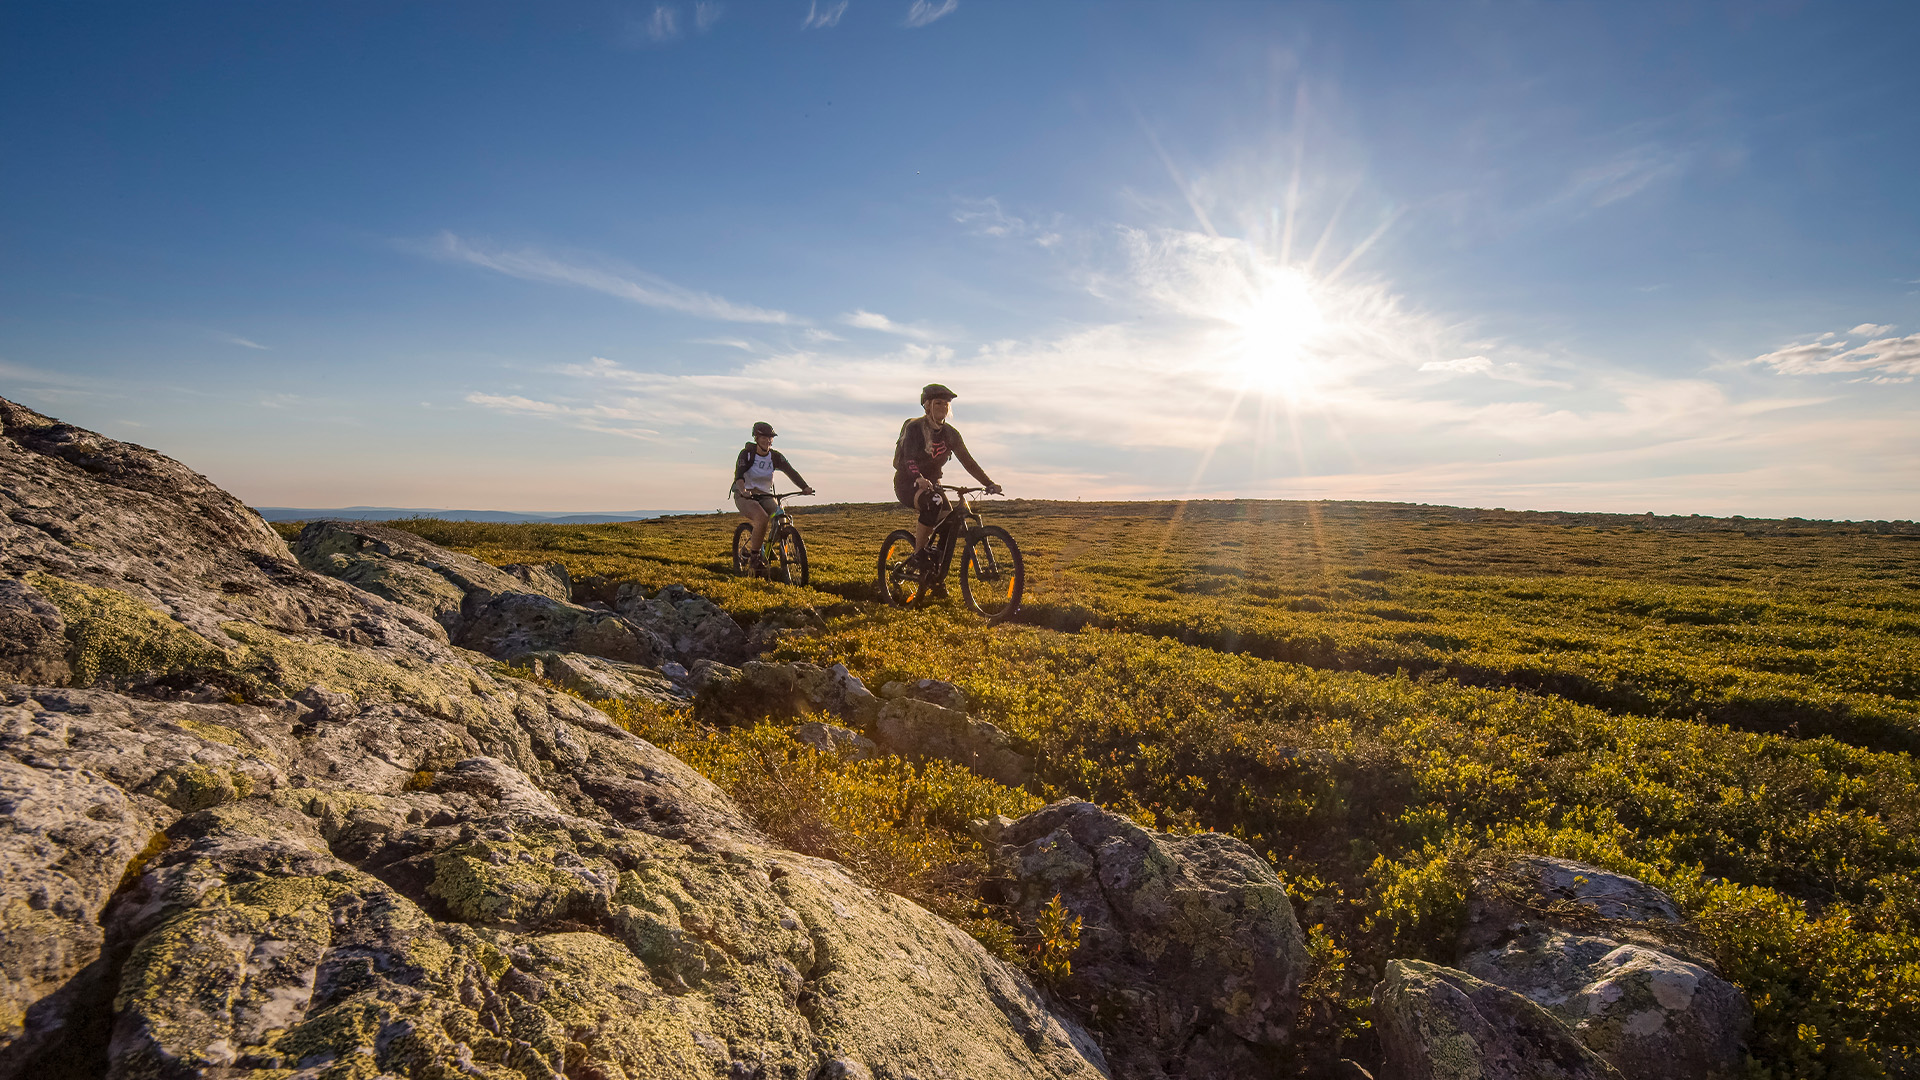
Think a summer mountain holiday is only for those who want to hike far, bike fast or know the mountains well? It’s time to think again. Here we bust common myths about summer in the mountains.
7 myths about the mountains in summer – and what it’s really like![Cycling in beautiful Swedish nature with views of lakes and forest areas in the distance, during summer]()
-
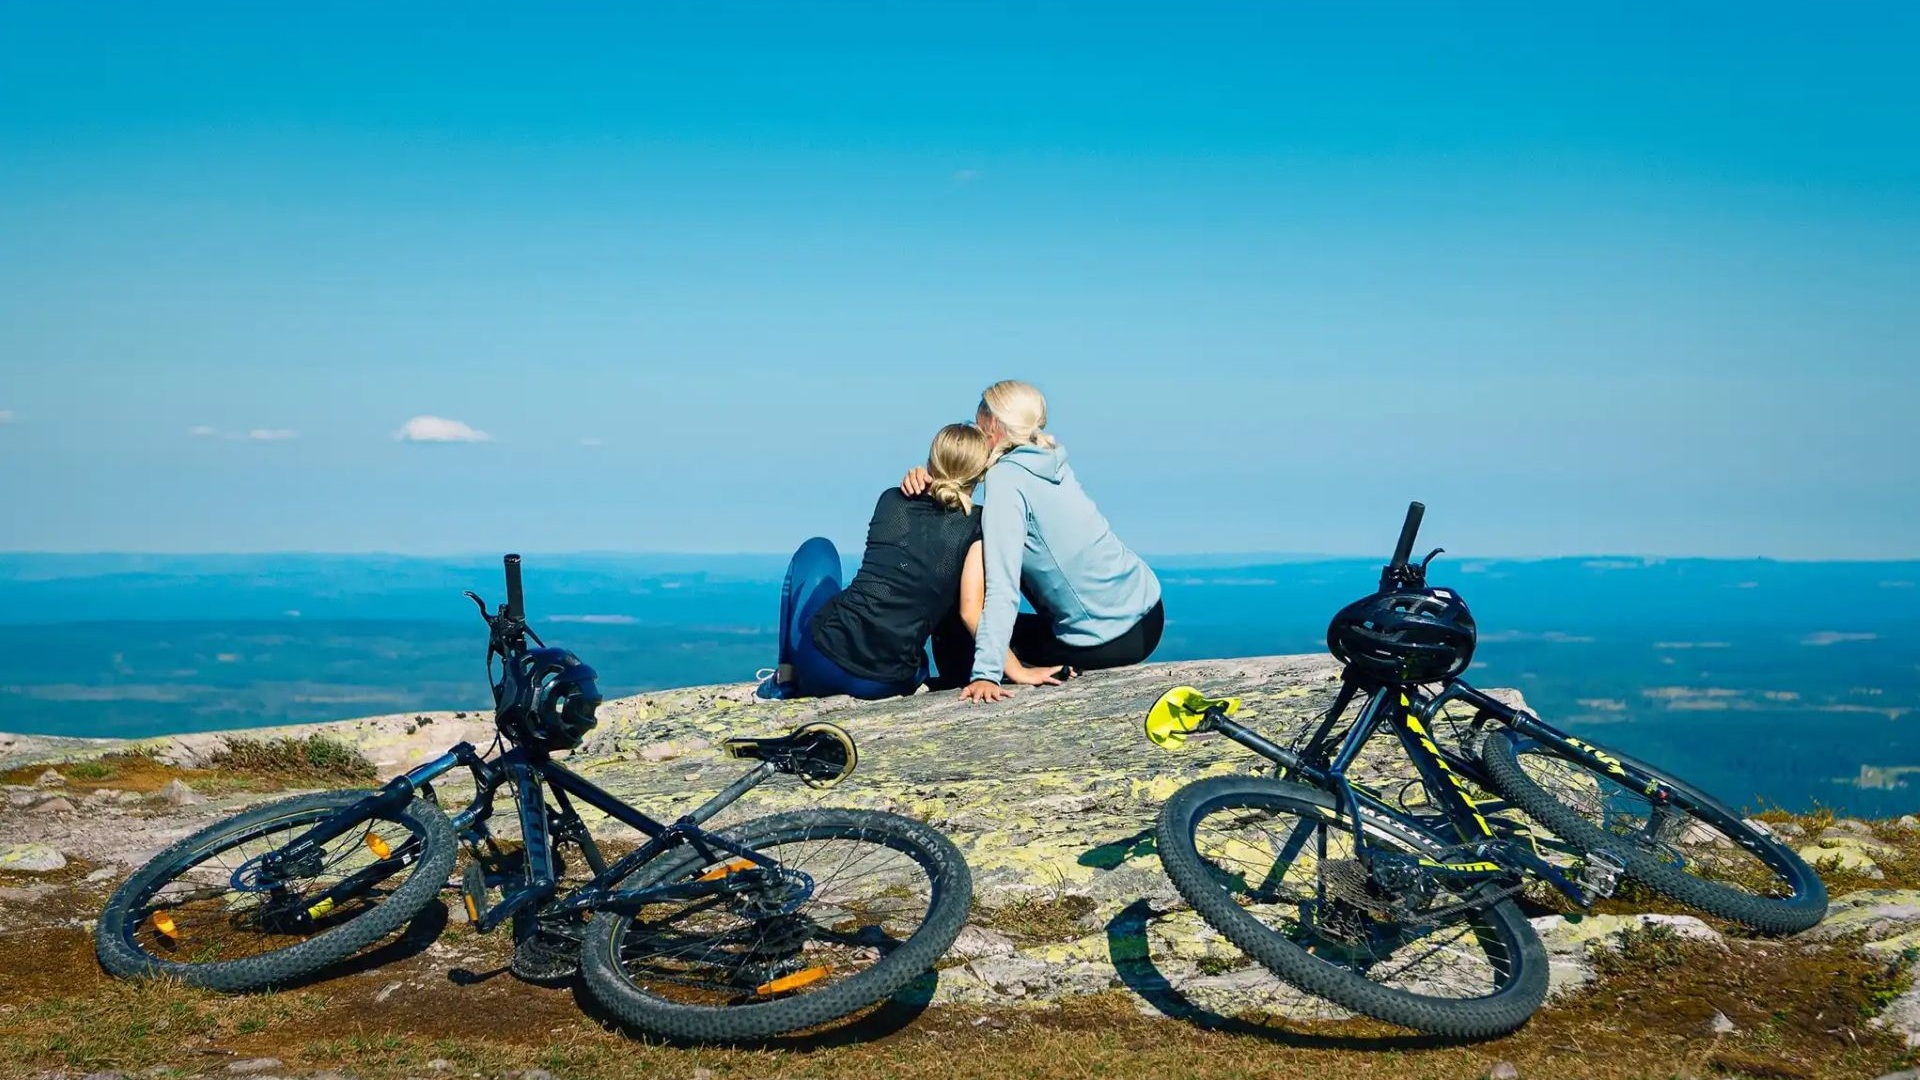
Coolcation in the mountains – when the world heads north
More and more travellers are looking for cooler alternatives to hot summer destinations. In Scandinavia, the mountains offer fresh air, bright evenings, swimming, activities and a summer holiday with more room to breathe.
Coolcation in the mountains – when the world heads north![]()
-
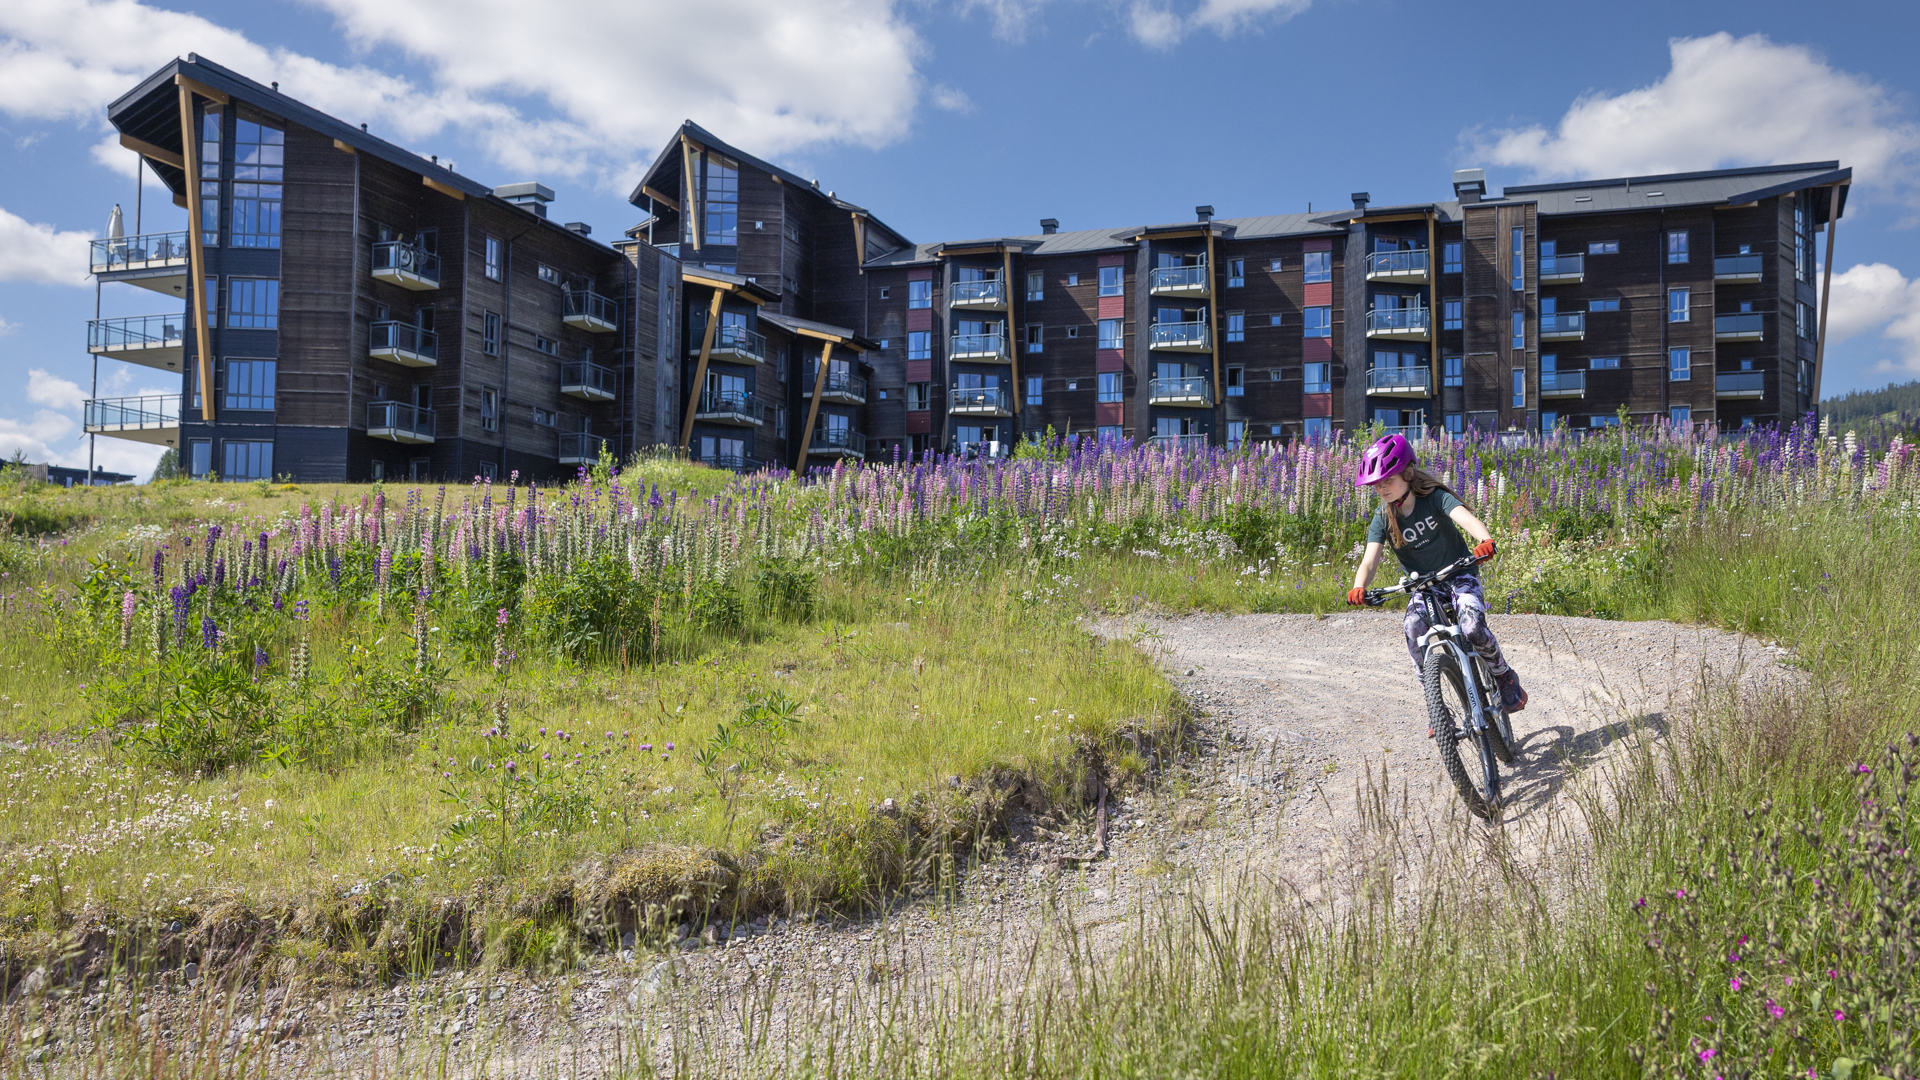
10 summer activities
Our destinations are bustling with activity even in summer. Here are ten tips for memorable activities!
10 summer activities![Cyclist on a gravel road in front of modern apartment buildings and a blooming landscape on a sunny day in Sweden]()
-
For those who have never been to the mountains
The mountains offer everything from hiking to cycling, climbing and rafting this summer - and of course a lot of relaxation.
For those who have never been to the mountains![Person on a rock by a river in the forest under a clear blue sky]()